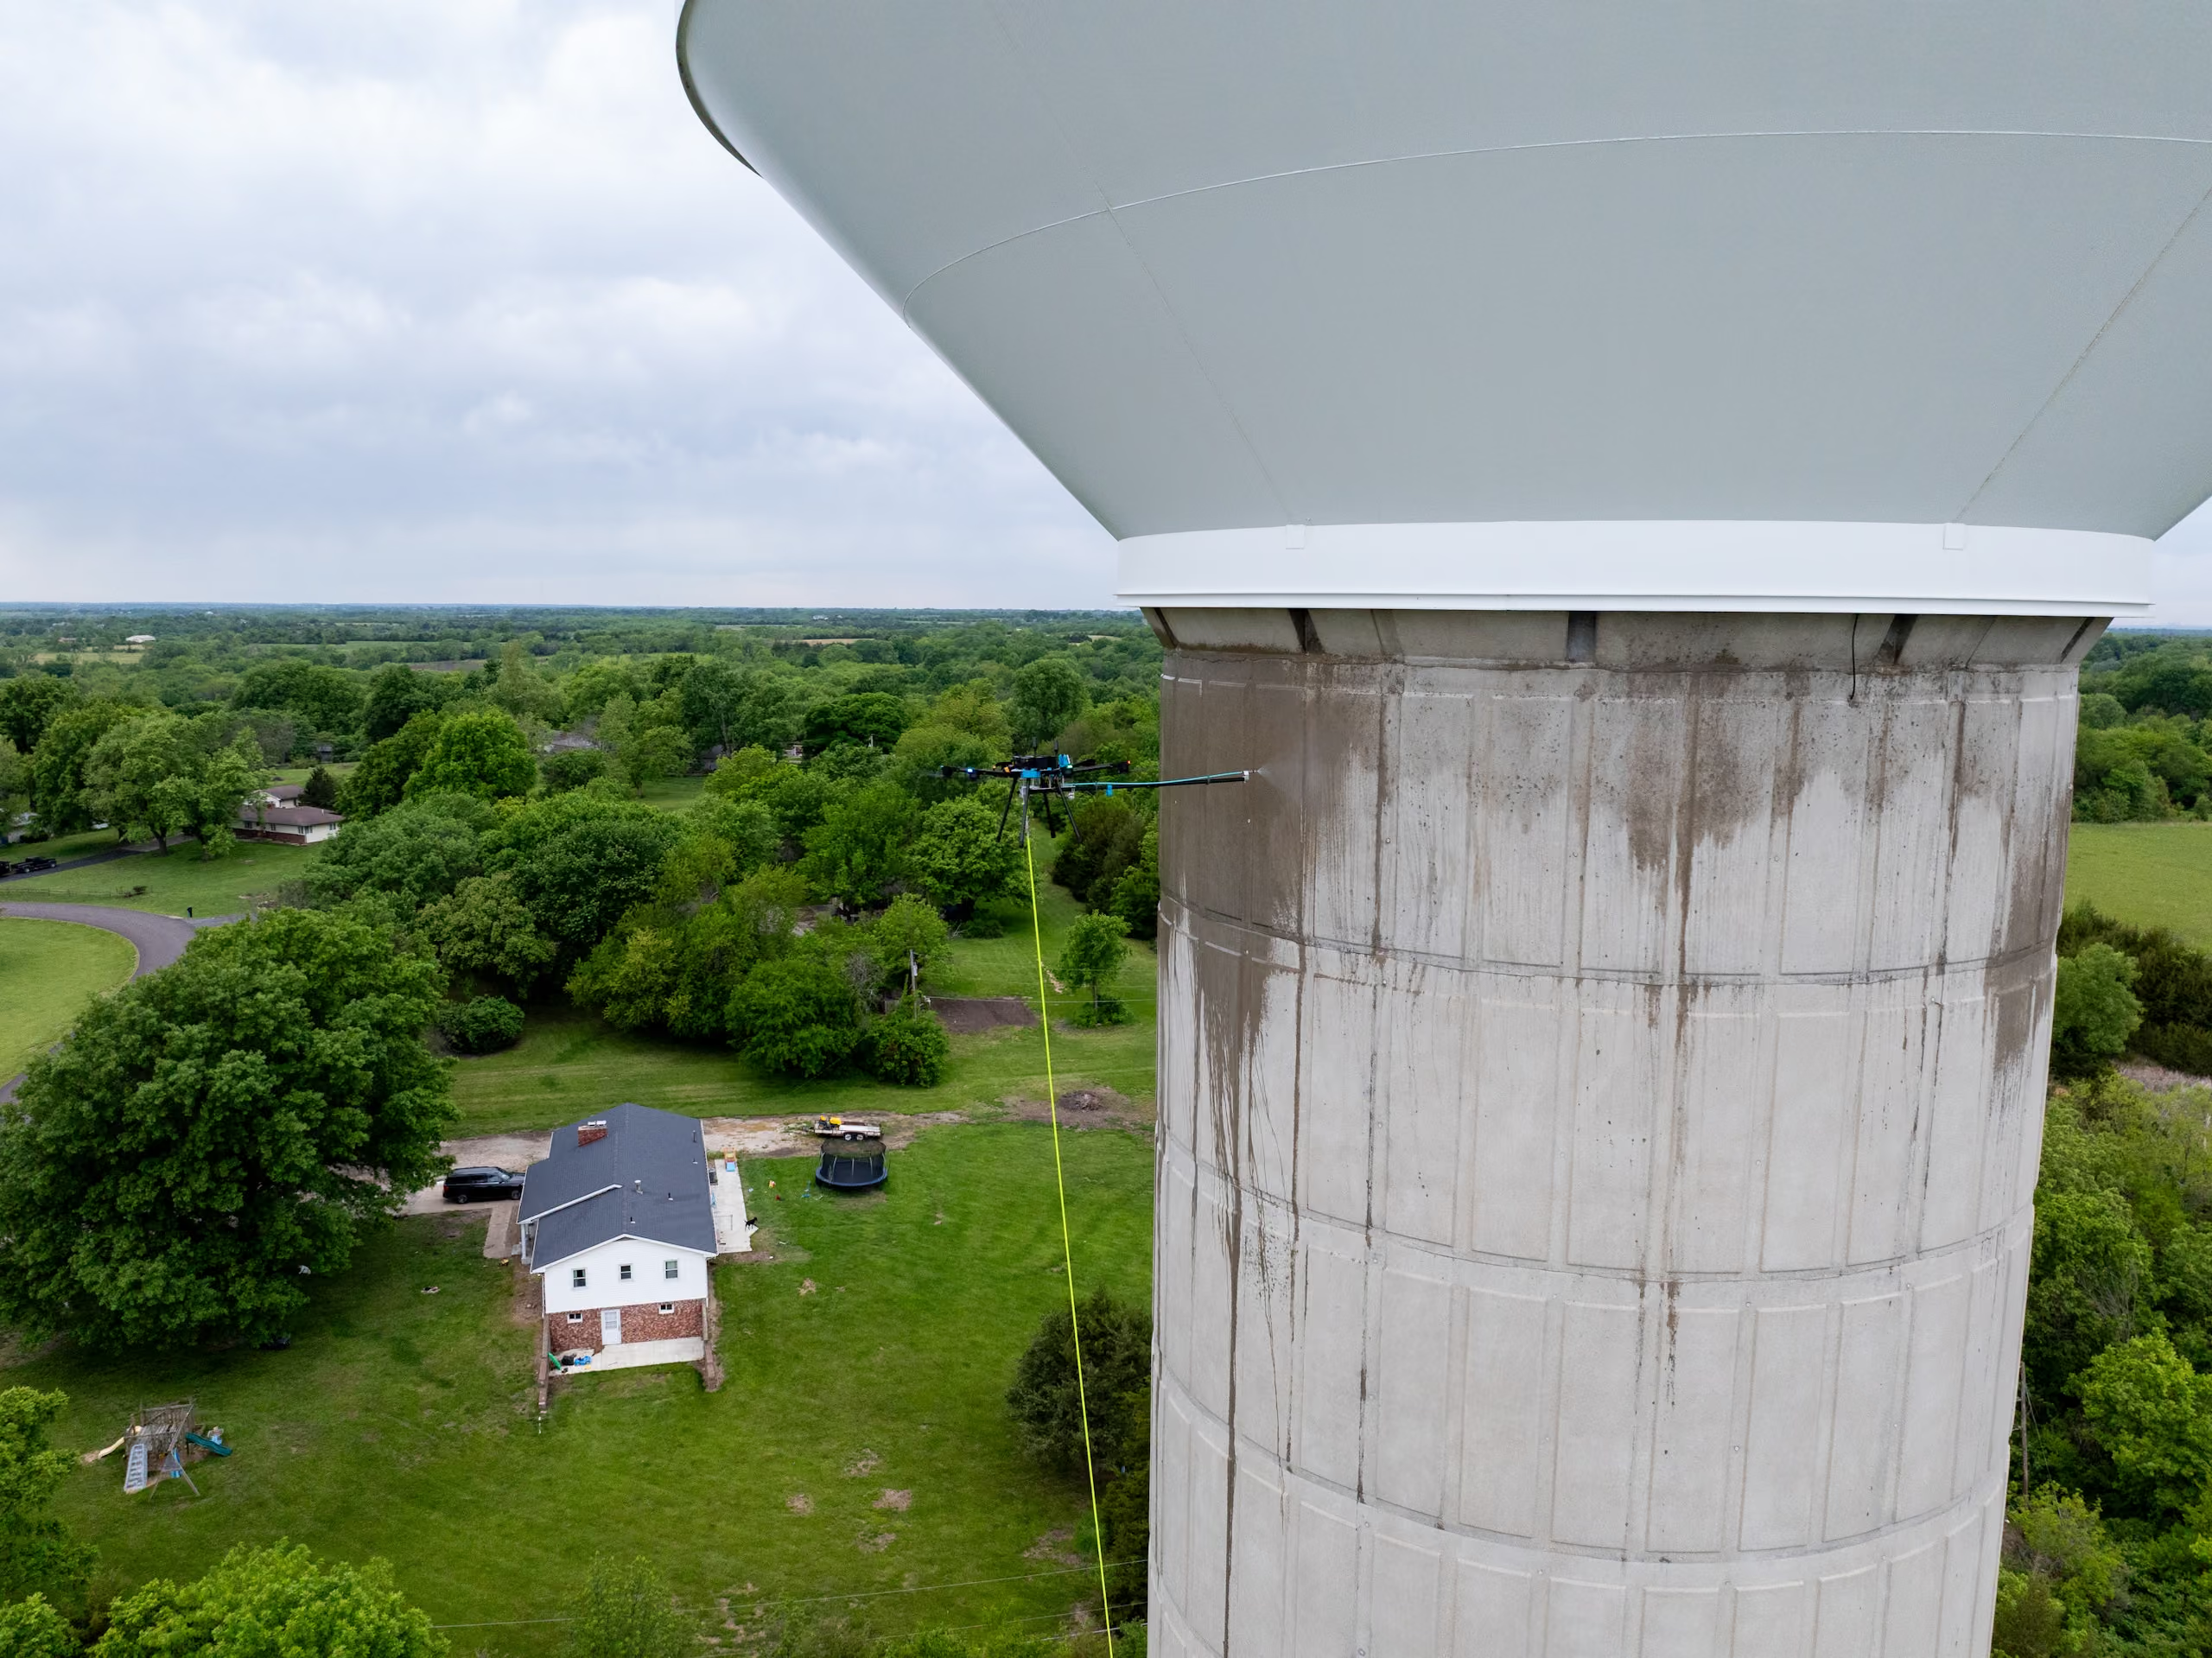
Use the Sherpa drone and Shield Payload to apply water repellents and protective treatments to concrete, brick, stone, and other approved porous masonry.
A better way to reach the work
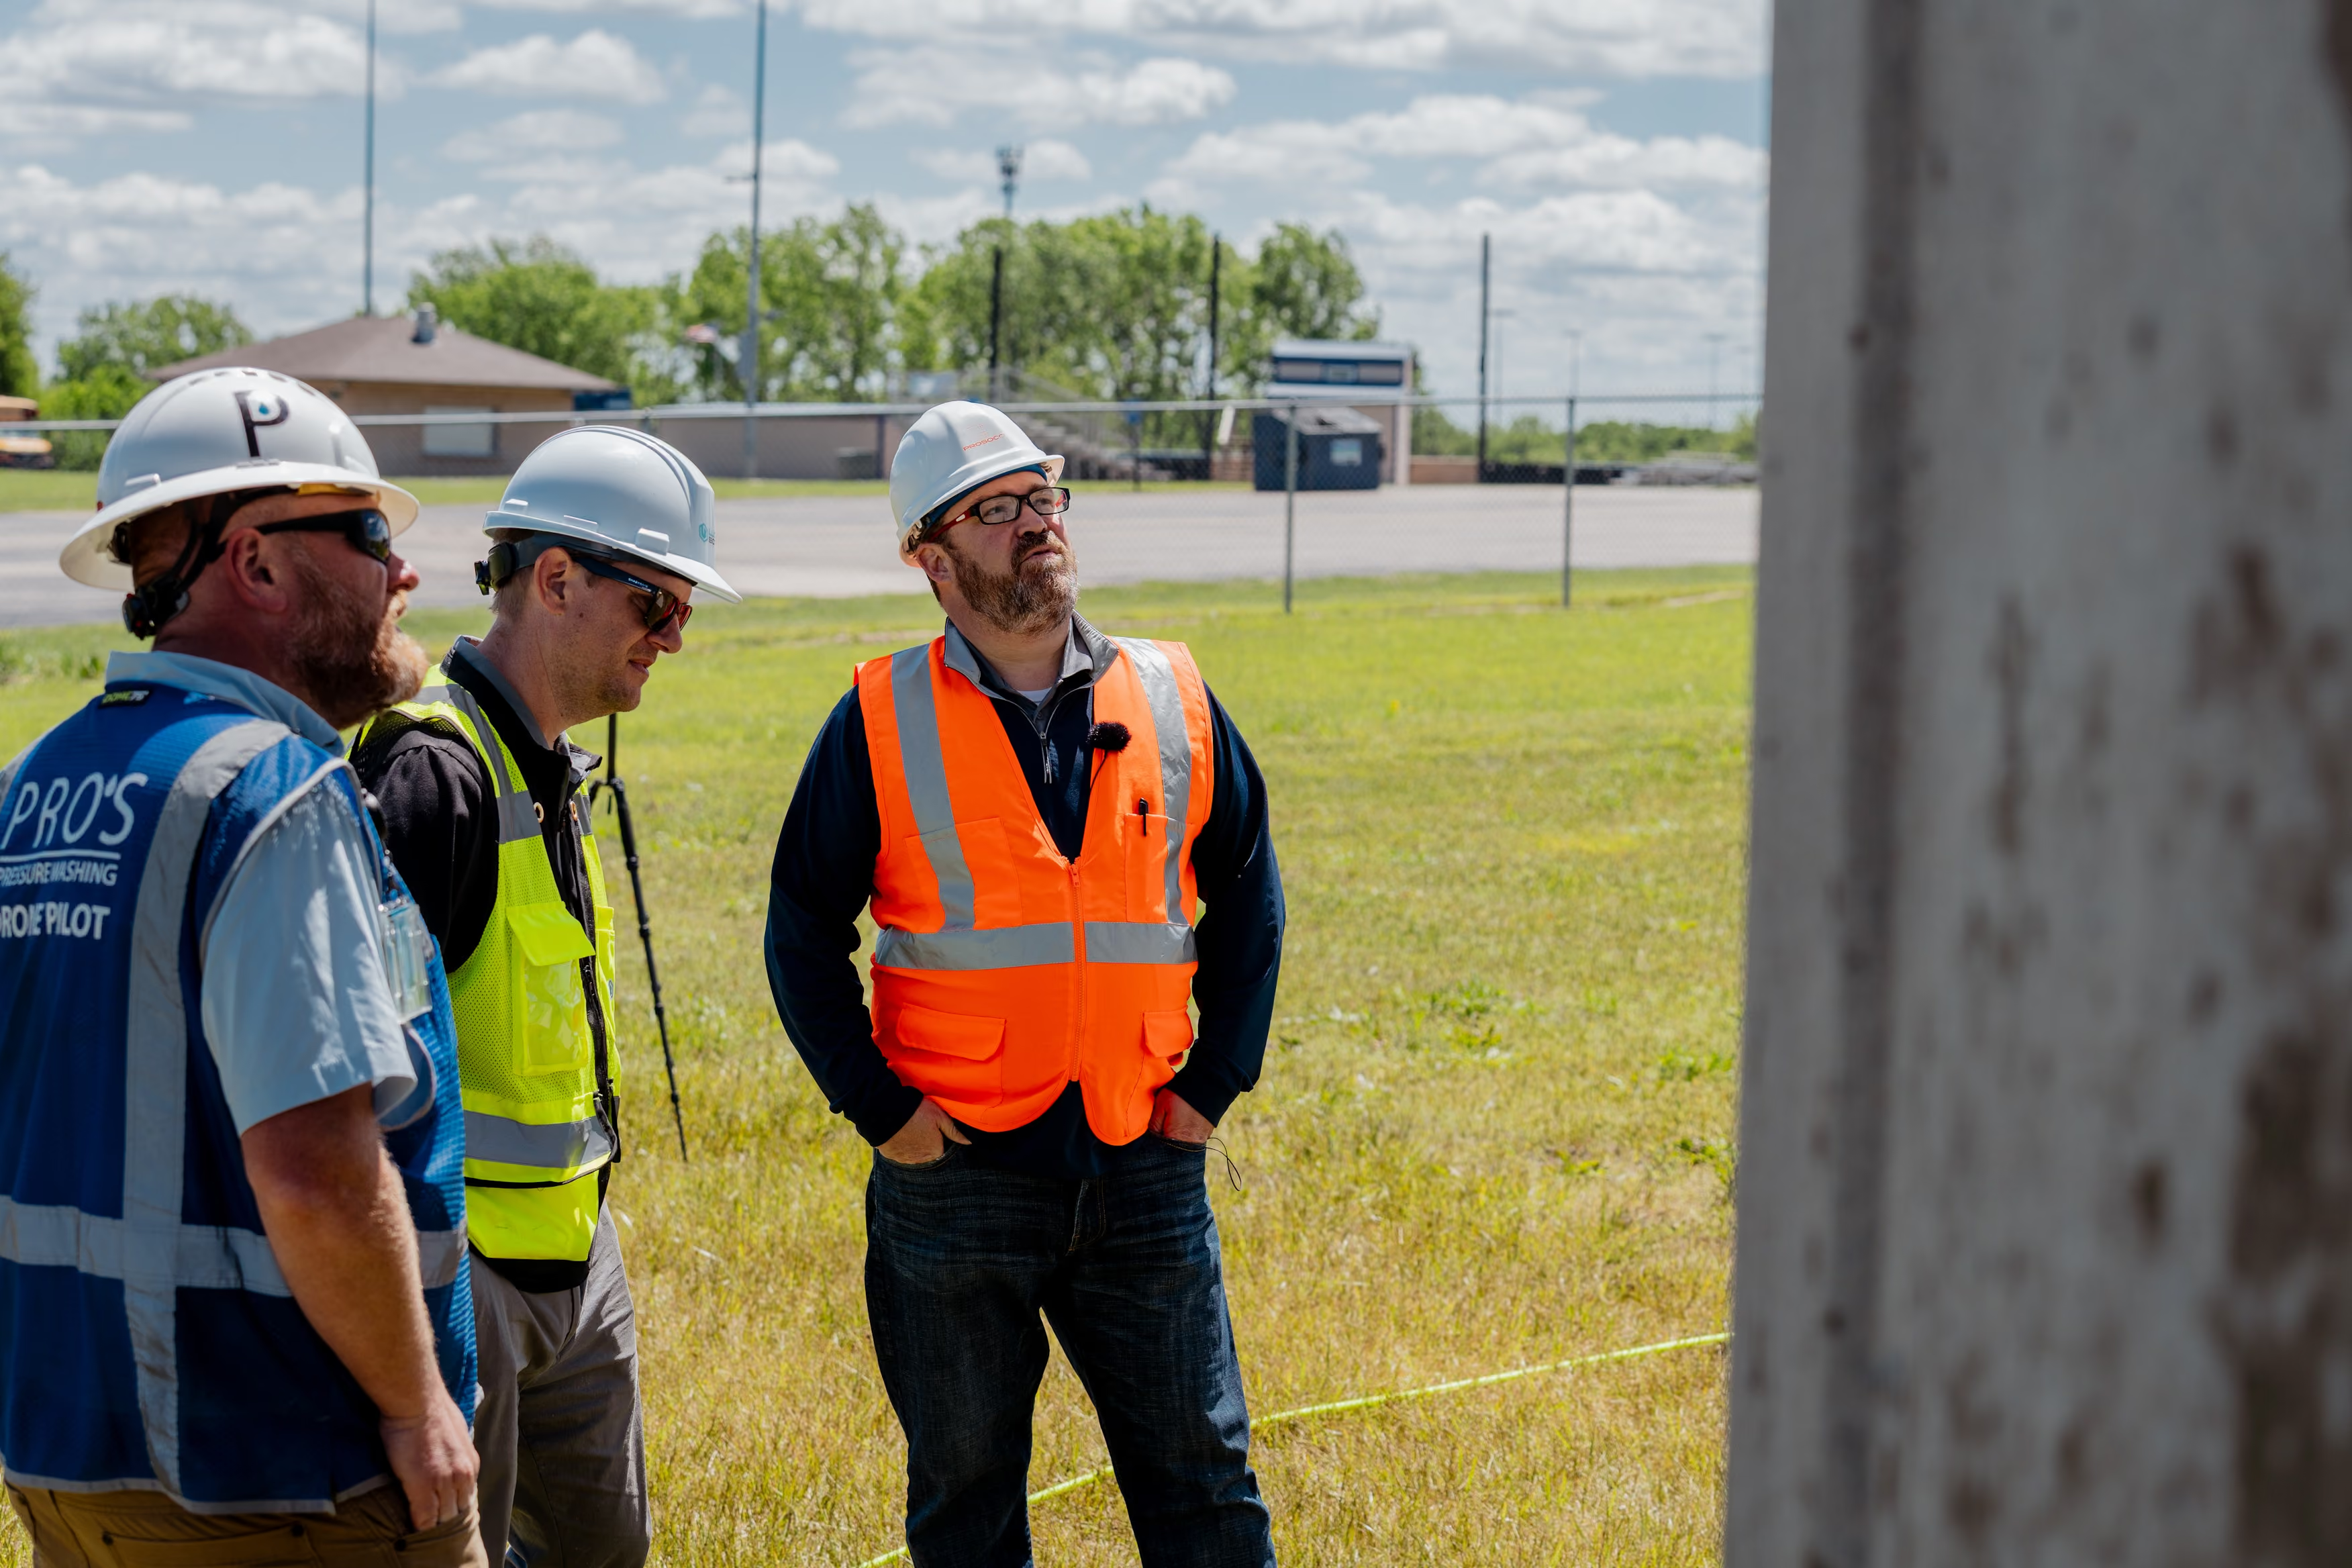
Protect masonry and your crew
Applying water repellents with traditional methods requires lifts, scaffolding, or rope access. The Sherpa drone eliminates the risks and inefficiencies of traditional methods, making the process safer, faster, and less costly.
AI-generated image
Real image
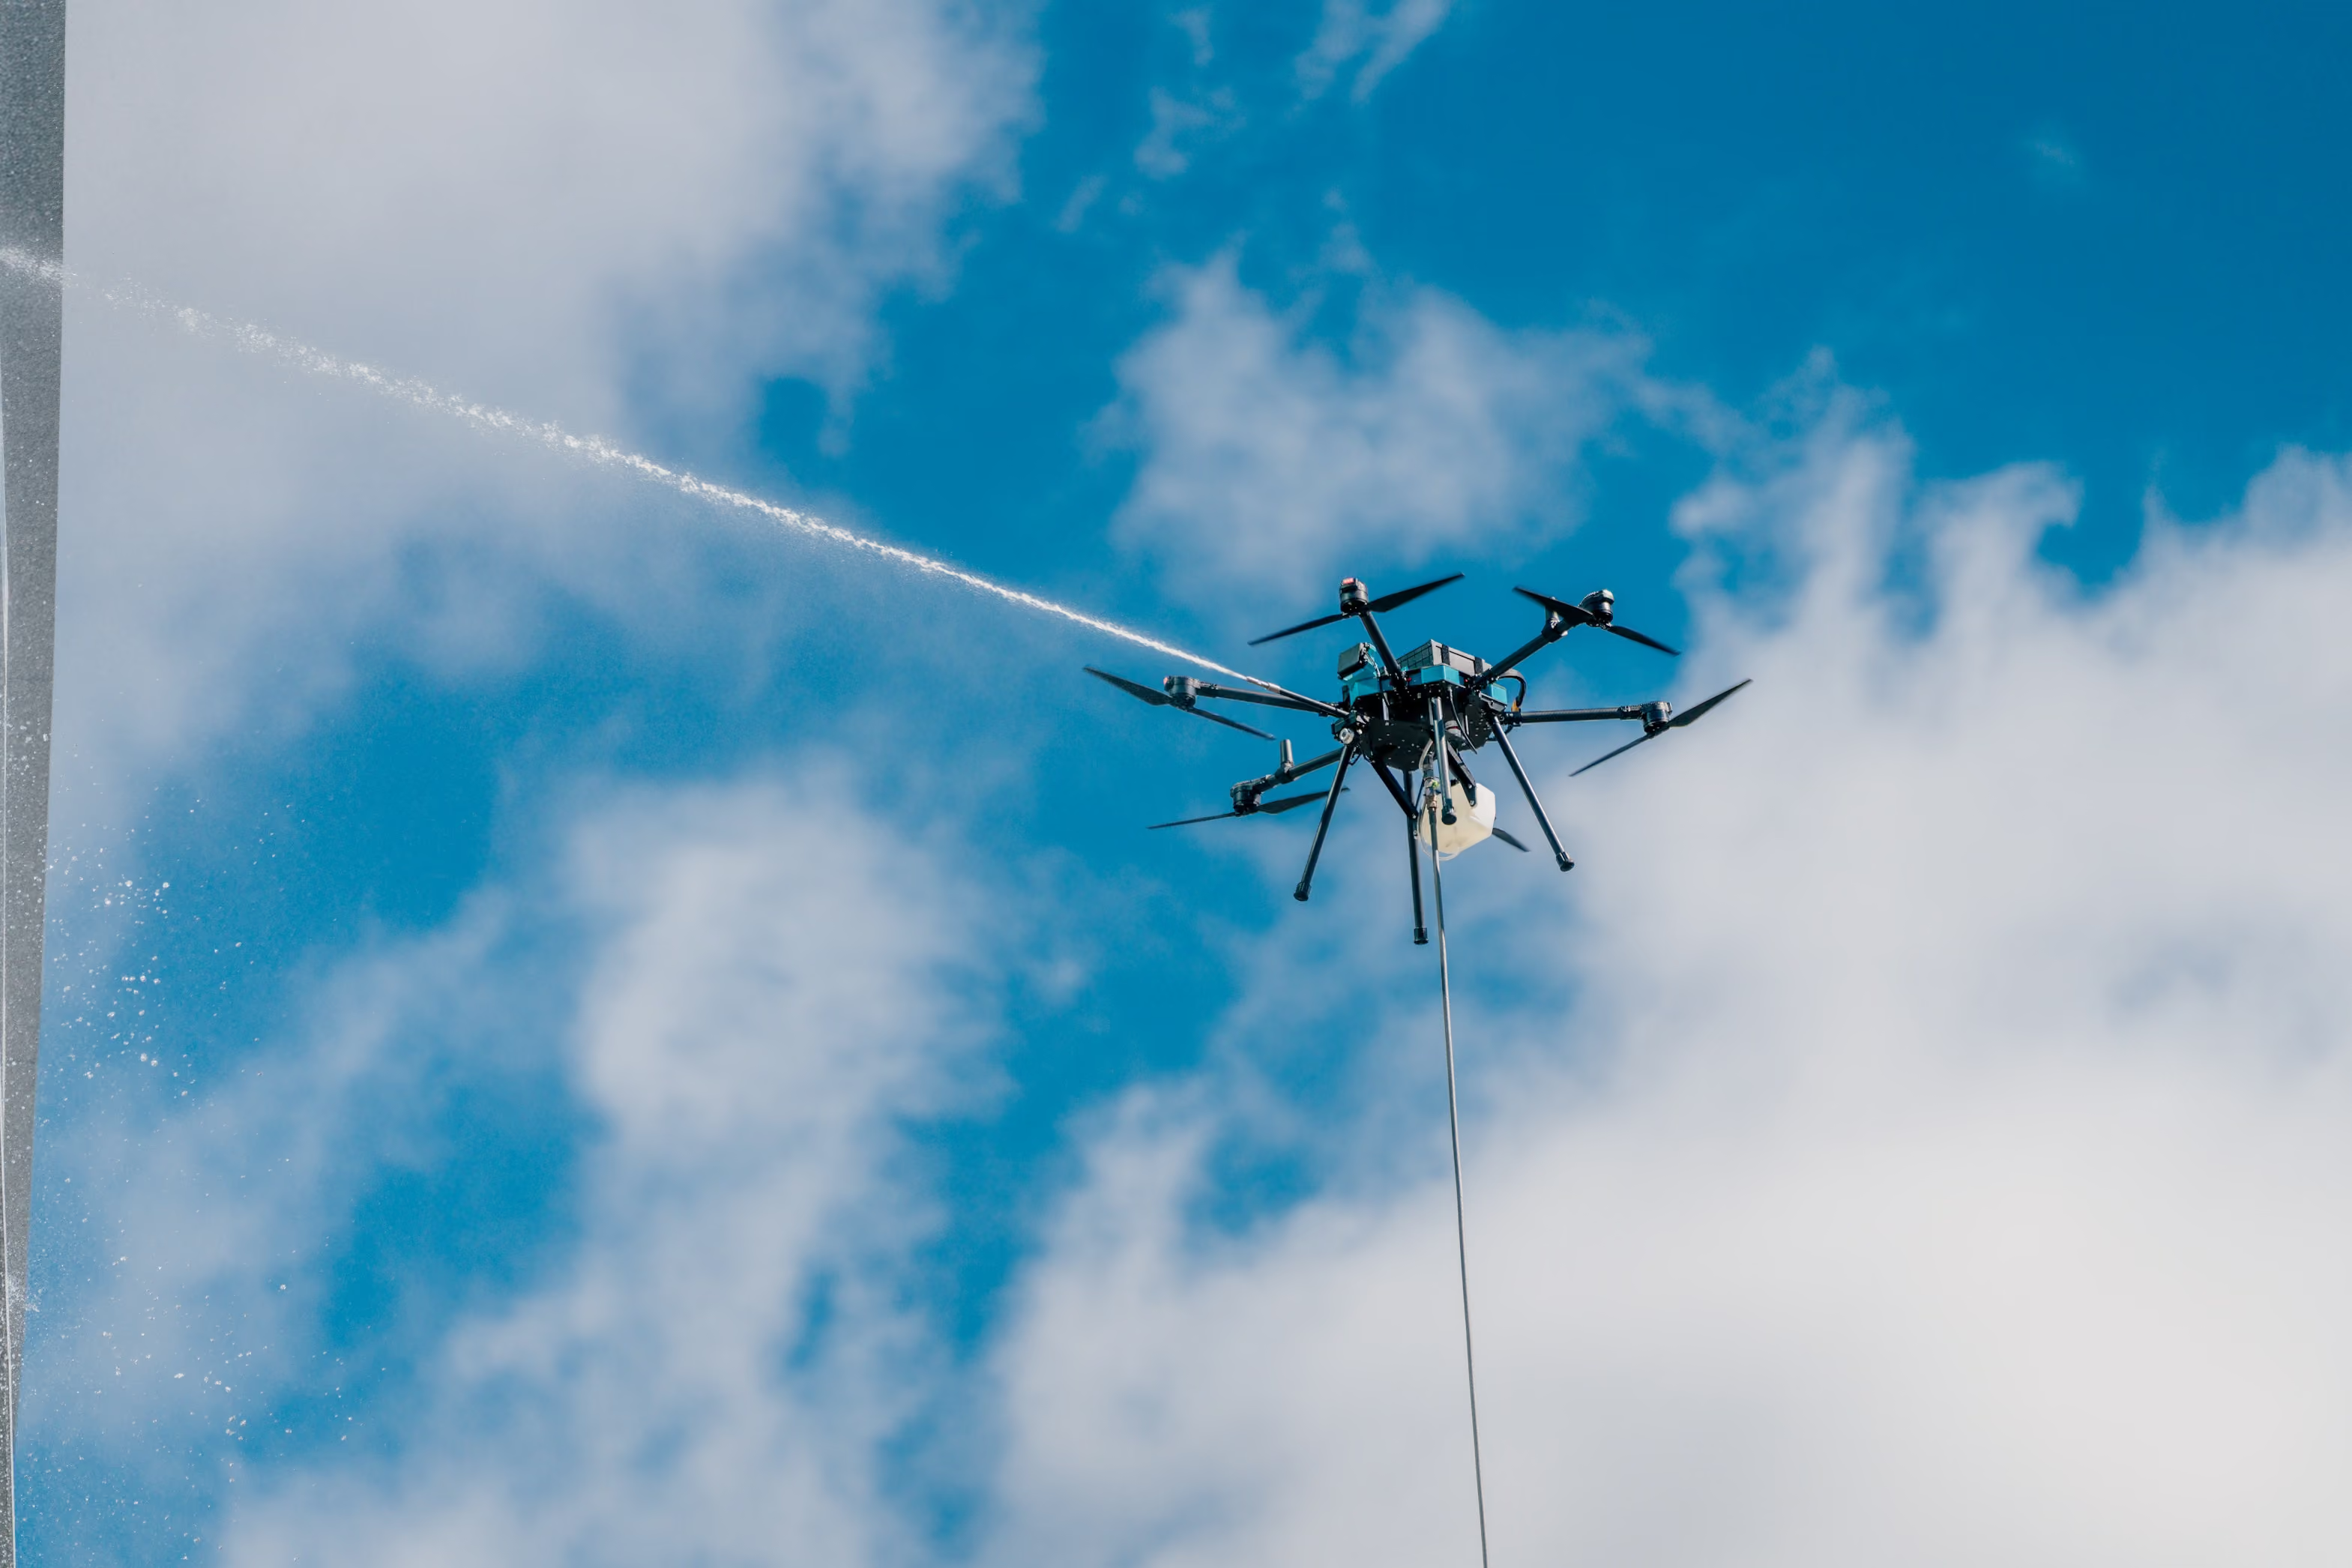
Applying water repellents using the Sherpa drone requires the Shield Payload attachment.
How it works
From surface preparation to protection
Securing safe access is only part of the job. Successful protection depends on substrate compatibility, surface preparation, application parameters, and environmental conditions.
01 Qualify the surface
Verify substrate compatibility. Protect people, windows, all non-masonry substrates, and property from product and potential overspray. ALWAYS TEST a small area of each surface to confirm suitability, coverage rates and desired results before starting overall application.
02 Clean the surface
Remove dirt, biological growth, residue, and other contaminants that could prevent the treatment from penetrating evenly. Complete repairs and remove any existing coatings or films that interfere with adhesion or absorption.
03 Let it dry
Allow the surface to dry completely before treatment. Protect the treated area from rainfall for 6 hours following treatment. Use RILEM tube tests to verify proper application.
04 Ensure suitable conditions
Best surface and air temperatures are 40–95°F (4–35°C) during and for 8 hours after application. Protect surfaces from rainfall for 6 hours following treatment.
05 Prepare the system
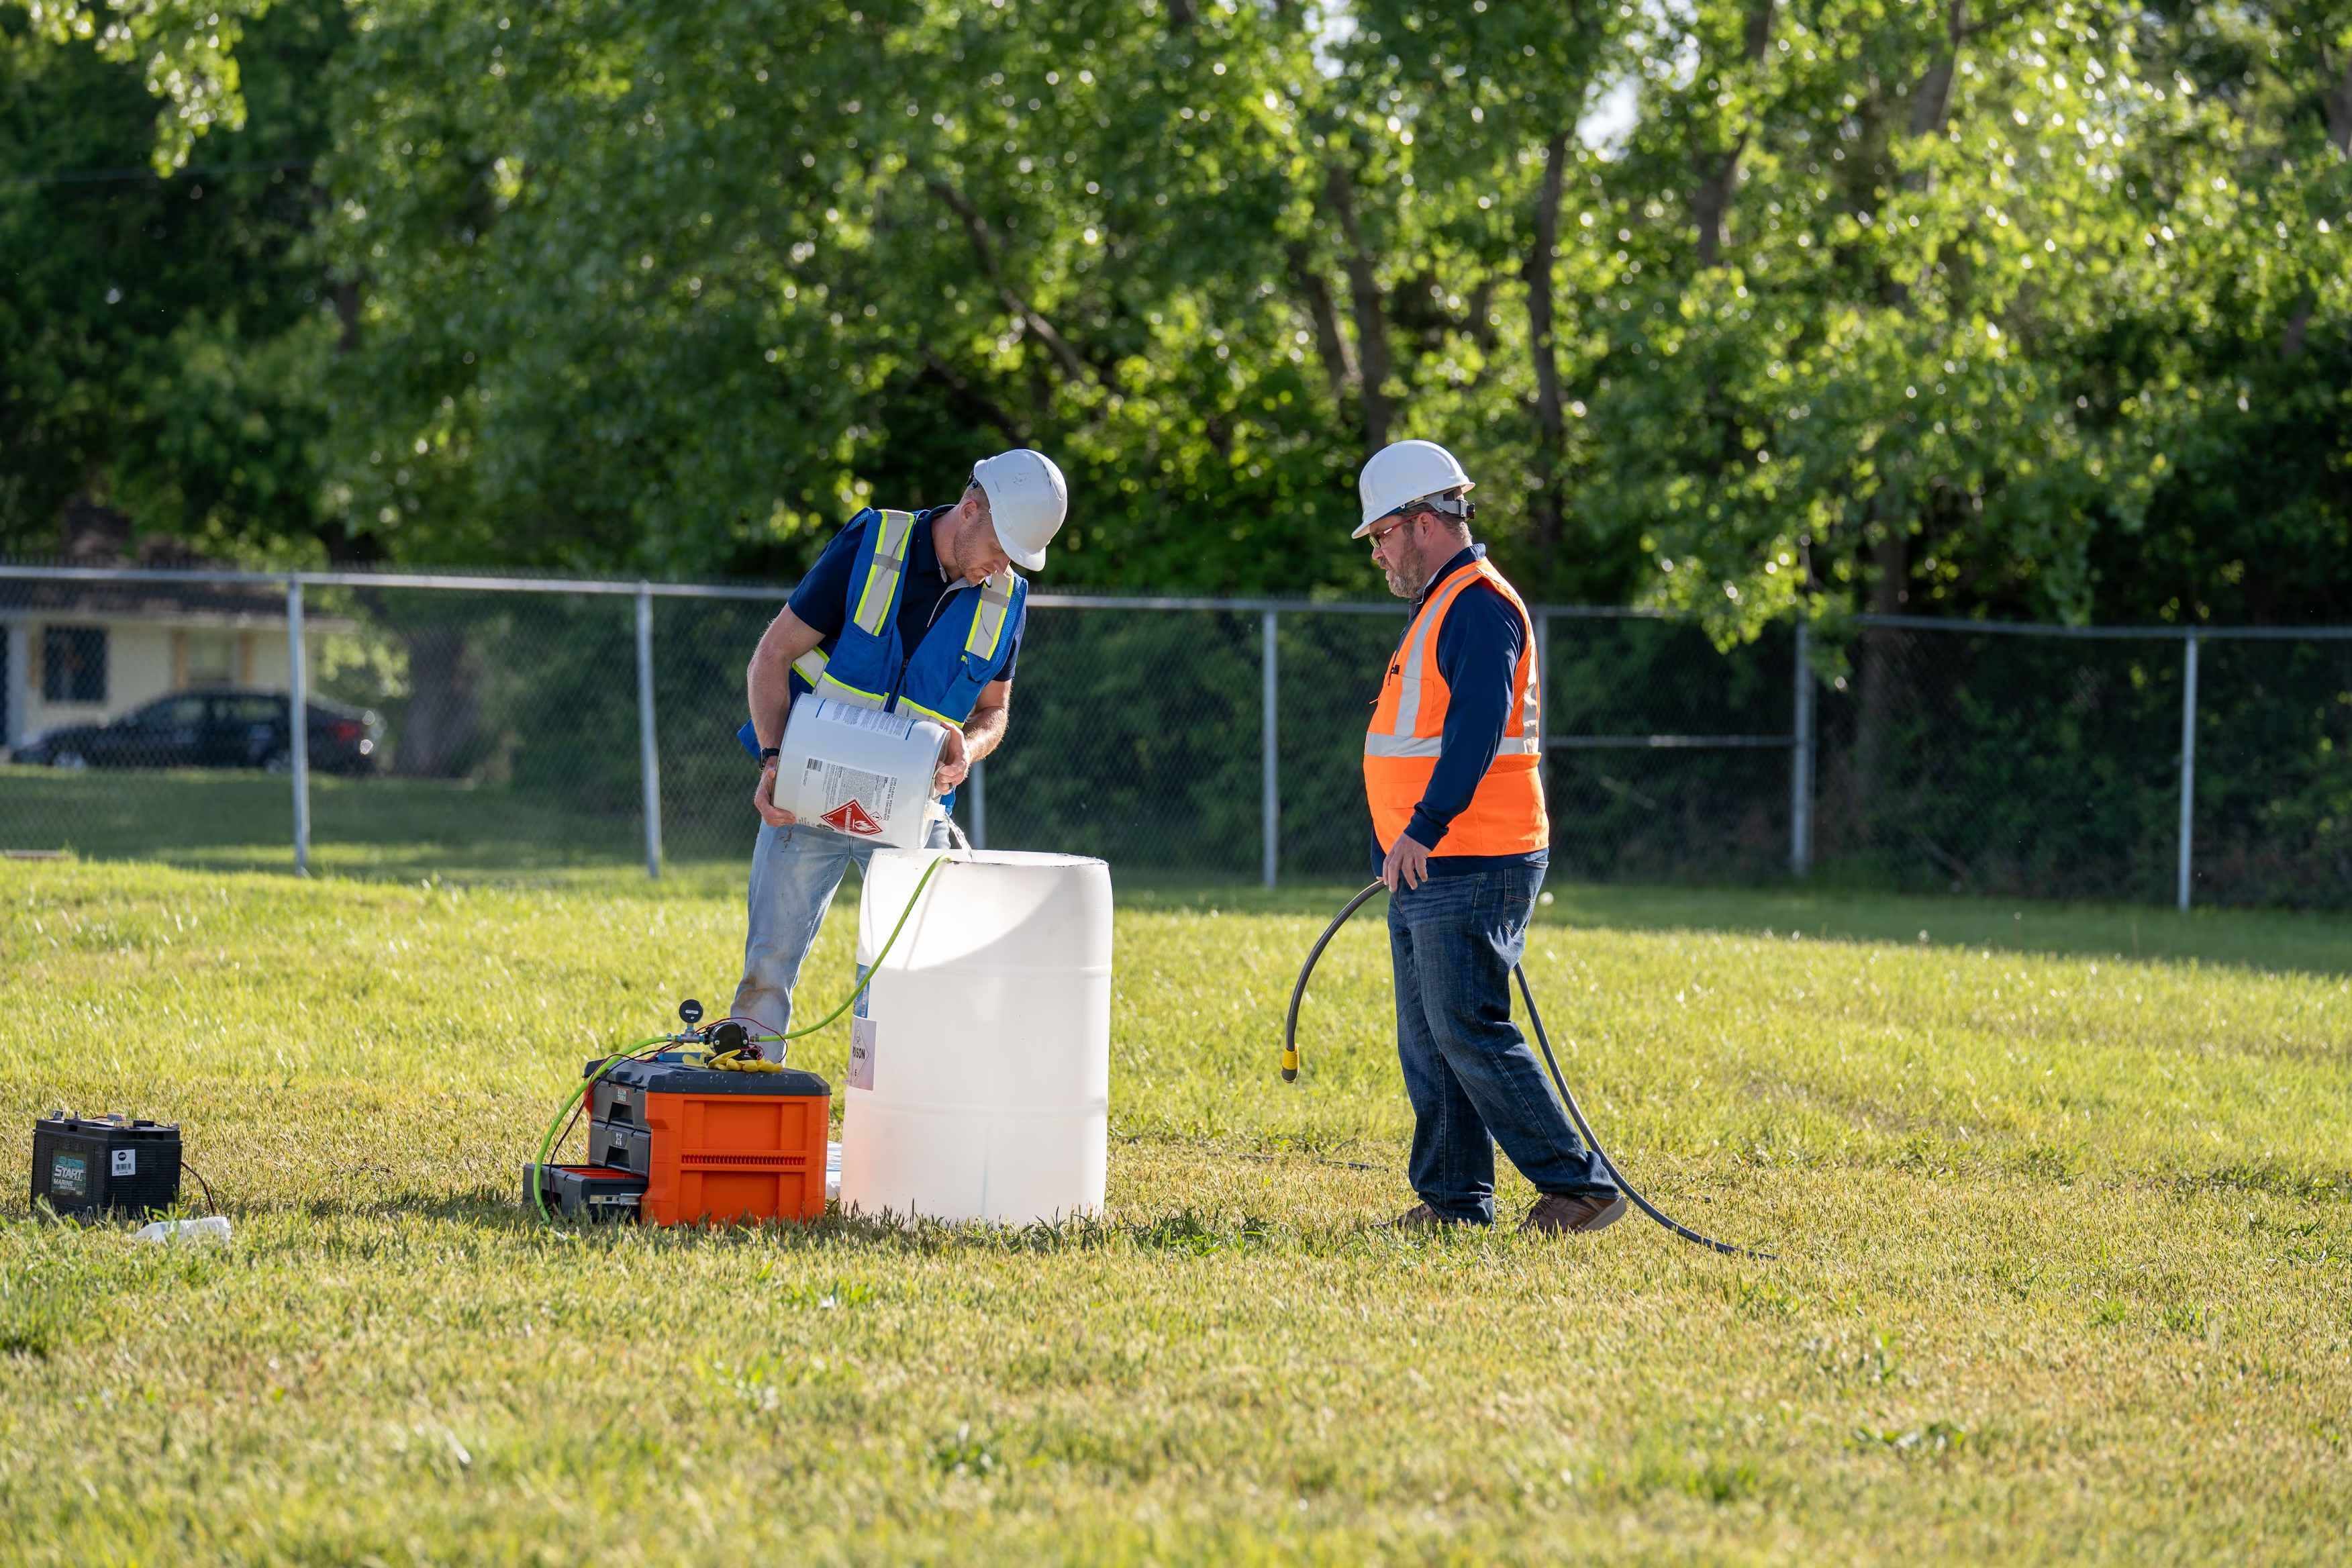
Prepare treatment according to its manufacturer's specifications. Connect Shield payload to the Sherpa drone. Attach nozzle with desired spray pattern, and verify proper application pressure as stated in product's PDS/TDS. Complete all pre-flight checks.
06 Apply the treatment
Fly the Sherpa drone in controlled, consistent passes while maintaining the recommended distance from the surface. Apply the treatment evenly, manage overlap, and prevent overspray onto glass or incompatible materials.
07 Inspect and cure
Inspect the surface for uniform coverage and address missed areas according to the manufacturer's instructions. Protect the treated area from water and disruption while the treatment penetrates and cures.
See how the Shield payload system connects
Explore how the Sherpa drone, power options, fluid-delivery equipment, ground rig, and crew work together.

.avif)
.jpg)
.jpg)
.avif)

.avif)
.avif)
.avif)